
Put your brand in front of thousands monthly and support the growth of harm reduction.
This article is a follow-up to my previous piece about what testkits are and how they work, so I won’t go into them in that much detail here - if you want to know more about that, you can find it here.
In short, testkits allow you to do a little bit of kitchen science and identify what it is that you have in your stash. You can identify substitutions and some adulterations by comparing colour changes that result when you mix them up with the reagents. Substitutions are drugs which are used to replace your intended purchase entirely- you won’t find a single trace of what you wanted to get. Adulterations are materials which are used to “bulk out” your batch- you will find your drug mixed with other stuff.
General procedure for running a test
This first point is less about testing procedure, more about caring for your reagents - as soon as you get your testkit, put it in the fridge. Refrigeration (or freezing, if you have time to let it thaw before testing) will make your kits last much longer. Now, let’s get going with the testing:
- When the time comes to test, make sure to use a suitable surface. Dedicated tools for this purpose are available, but a ceramic plate or the underside of a mug are also perfectly suitable for the task.
- Add a small quantity of the drug to be sampled (a quantity roughly the size of a matchstick head should suffice) and make sure to chop it up as finely as possible - the finer the sample, the clearer the reaction.
- If possible, start your recording - having pictures/video of the reaction will help you to analyze your results and make it easier to share your results with others if you need any help. Try to ensure that the camera is in a stable, stationary position and that the sample is lit appropriately so that it’s actually capturing the results.
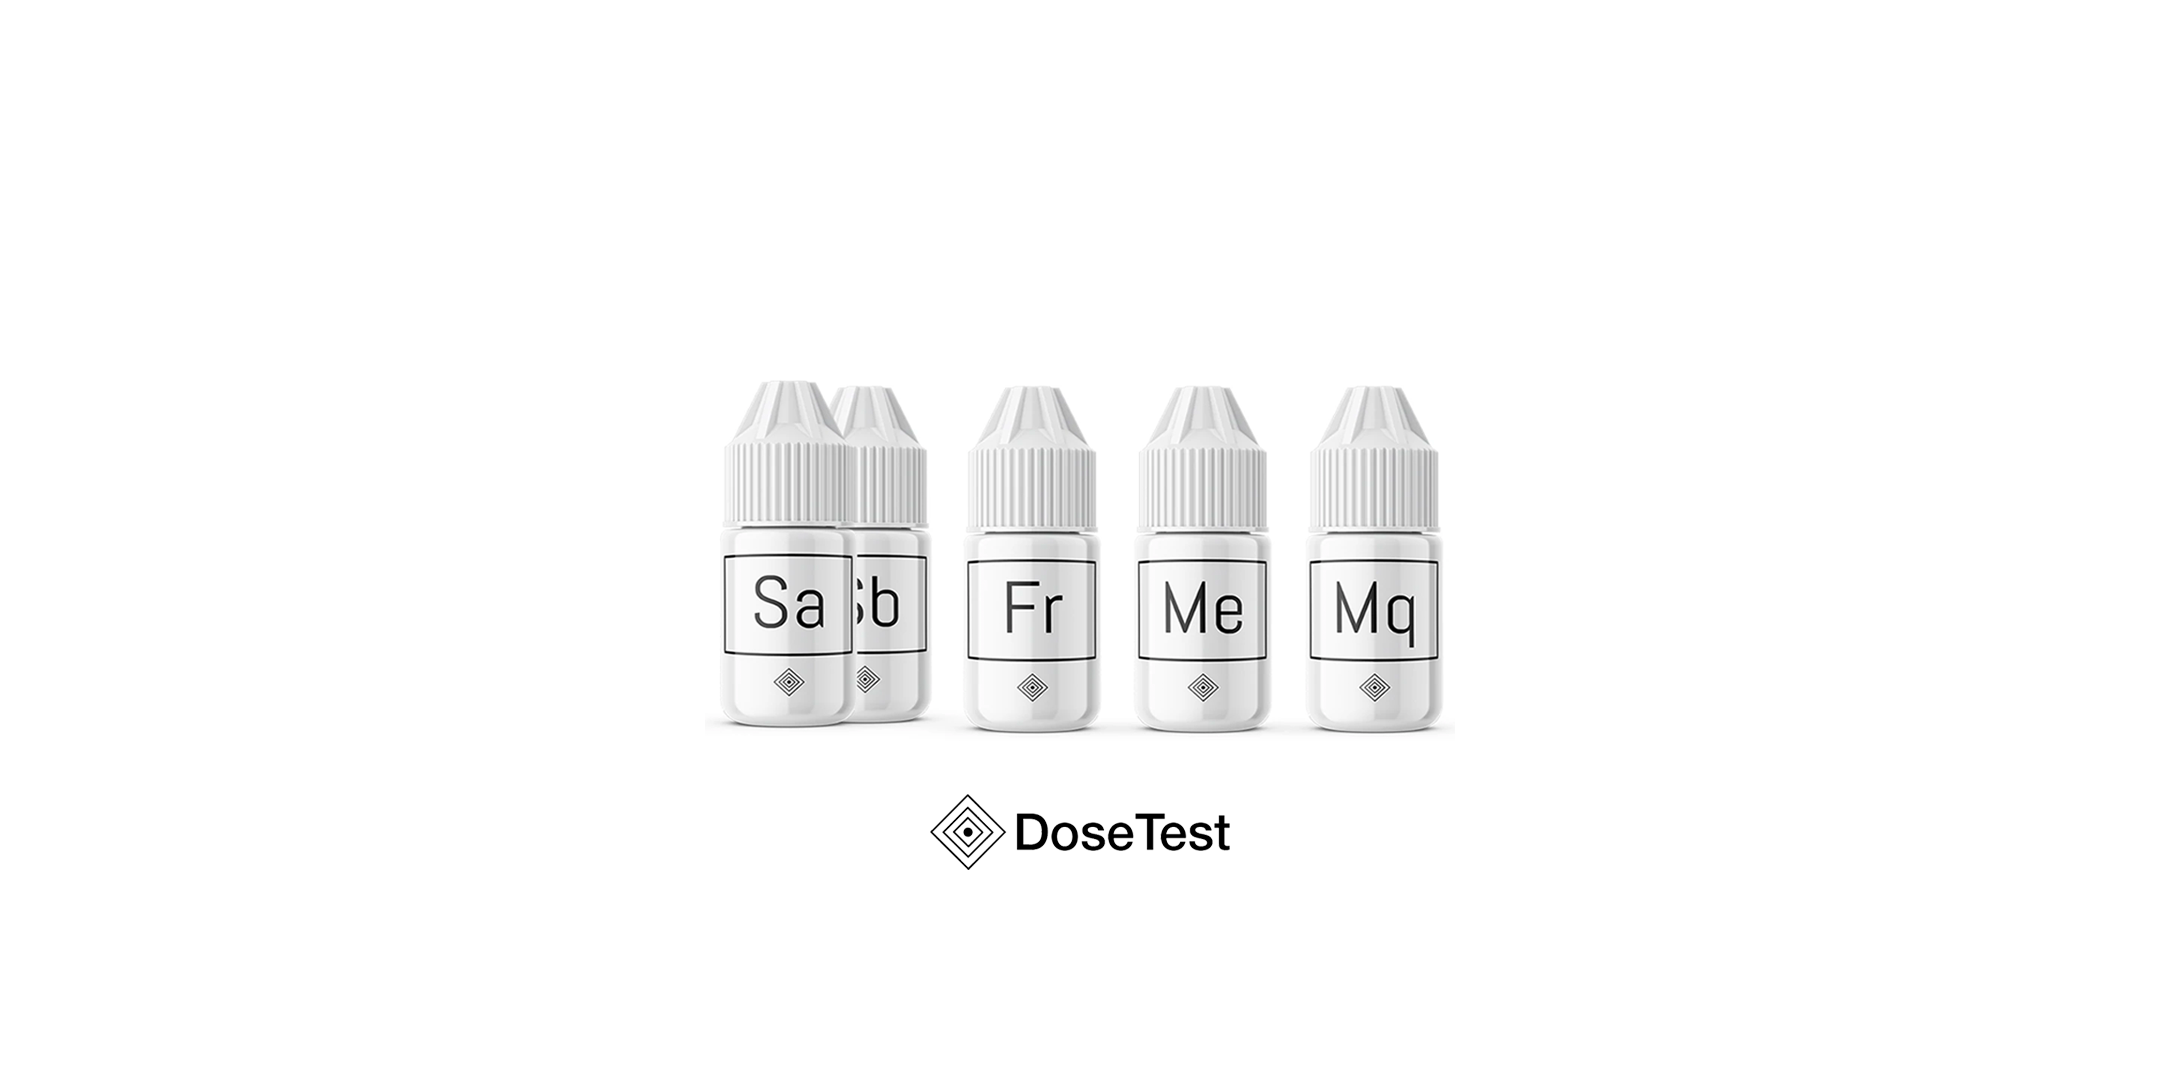
- Add a few drops of your reagent. Some reagents, like Simon’s and Robadope, will come in two separate bottles: these are usually labelled A and B, and you just need to add a drop or two of each to get the reaction going.
- Watch the reaction - this should take place over a few seconds. Any changes after the 1-minute mark will be down to the reagent reacting with the surrounding air, rather than the sample being tested. The exception to this is testing LSD with Ehrlich reagent, which may take up to 5 minutes - I’ll come back to this a little later.
- Once you’ve confirmed the colour-change (or lack thereof), head to results.dosetest.com to filter your results and find out which drugs your sample could be.

Now that you’ve narrowed it down, you can work out which tests you need to use next. By understanding the results of your test (you can use results.dosetest.com to filter results), you can establish which, if any, further tests may need to be conducted to confirm what’s in your sample.
Interpreting your results is the hardest part of testing, so I’ll take you through the testing of MDMA as an example.
Running through MDMA as an example
Here, I’ll run through the act of testing your (hopefully) MDMA purchase and how to decide which tests to run to identify what’s in your sample.
- The first thing you’d want to do is a test with Marquis reagent - MDMA’s reaction to this is pretty bold and distinctive, immediately turning the reagent a deep purple/black.

- However, there are several similar drugs which have the same reaction. In order to identify which you’re dealing with, you would use a quick Simon’s reagent test. MDA, the most likely alternative, will turn the substance reddy-brown, while MDMA will turn it a rich, dark blue. If you get this result, you’ve confirmed the presence of either MDMA or the (very uncommon) drug MDE.

- We can usually consider this enough to confirm MDMA, but if you want to be sure then you can distinguish the two with one last test using Mecke reagent. These two drugs have different responses, so which one you get should be enough to confirm MDMA specifically.

- However, there may still be other drugs contaminating the sample which are hidden by MDMA’s strong reactions, most likely amphetamine. If your Simon’s result has some murky brown to it then this is likely the cause. Amphetamine has the same red/brown response as MDA.
- This can be identified with Froehde reagent: MDMA will turn Froehde yellow, then purple and finally black, whereas we would expect amphetamine to produce a red result.
It’s worth noting, particularly for readers in the UK, that there are limitations to identifying some contaminants. A cathinone called 4-CMC, which is commonplace in this country, will not show up at all in such testing when mixed with MDMA. Fortunately, there are only very few cases so far which appear to contain both drugs. When 4-CMC is sold as MDMA it’s overwhelmingly a total substitution, with no MDMA present in the sample. While this is arguably a more dangerous sample, it’s at least much easier to test for.
Commenting on caveats
This isn’t the only case where we run into the limitations of reagent testing. No one practice or tool is a panacea, and it’s no different for these testkits. In addition to invisible cathinone adulterants benzos are extremely difficult to detect with common reagents. However, a new reagent which can identify them, Morris reagent, is becoming more widely available.
Likewise, there are issues with LSD - while it can be tested with reagents like Ehrlich or Hofmann, its potency makes doing so more complicated because there is so little LSD in each sample. Different protocols are required for different media, like tabs or gels, which are a bit outside the scope of this article (more information can be found here).
Speaking of potency, we’d be remiss not to mention fentanyl here. Largely specific to North America, fentanyl presents unique issues when it comes to testing. While it does react with testing reagents, the amount involved is so low that its reactions would be masked by anything else in the sample (if they’d even be noticeable at all).
In order to test for fentanyl, which is advised with any North American opiates, benzos, cocaine, meth or MDMA, we advise the use of specialised Fentanyl Test Strips (FTS). These strips specifically identify fentanyl and some common analogues. They work with lateral-flow technology to give a yes/no answer for whether the drug is present, similar to a pregnancy test.
No matter what you’re taking or how you’re testing, err on the side of caution - if in doubt, don’t take the sample and send some off to the closest full testing service to you:
- DrugsData (International, US-based)
- Energy Control (International, Spain-based)
- WEDINOS(UK)
- GYDT (Canada)
- Jellinek (NL)
- SaferParty (Switzerland)
- Checkit.wien (Vienna)
Get your drug testkits here. If you use this link, 5% of sales are for Drugs and Me, which supports our content and software development.
Cameron is the content director for DoseTest, a worldwide social enterprise which provides reagent testkits and fentanyl test strips as widely and cheaply as possible. You can find them at @dosetest on Twitter or @dosetestofficial on Instagram for a regular dose of information about testing, harm reduction and the world of drugs.
Put your brand in front of thousands monthly and support the growth of harm reduction.